


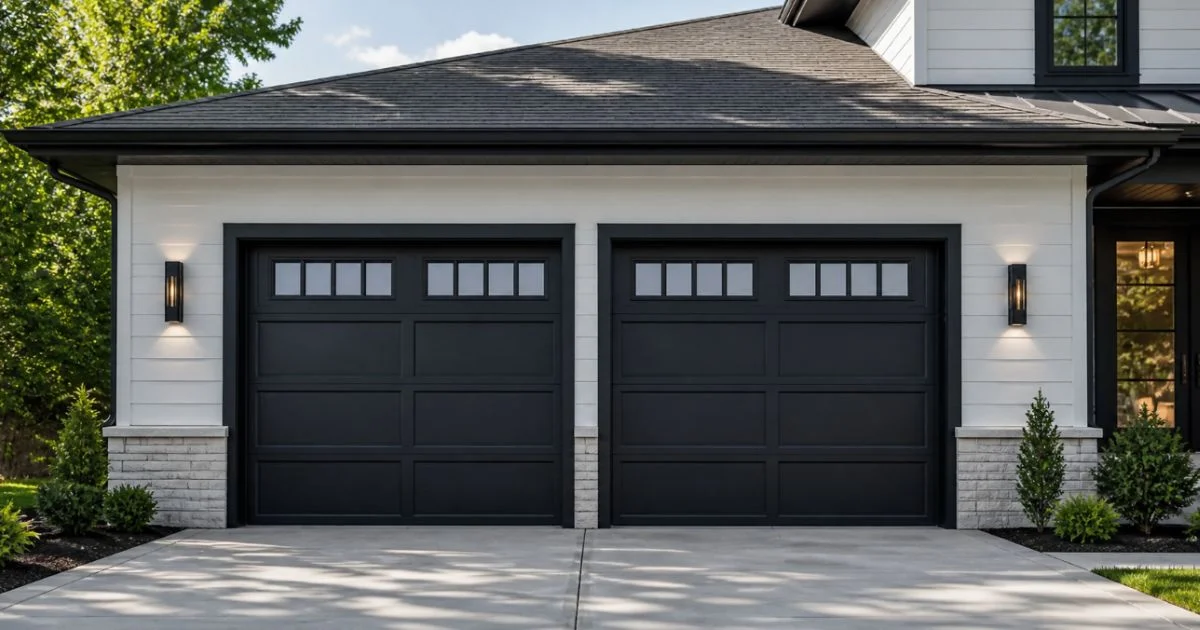
The YouTube tutorial made it look manageable. Twenty minutes, basic tools, step-by-step. You watch someone unbolt the old door, mount the new tracks, hang the panels, tension the springs. The installer in the video moves through each step without hesitation, makes the adjustments look obvious, finishes before the runtime hits eighteen minutes.
From the screen, this looks like a Saturday project you can knock out before lunch. Then it's 6 PM and the door is half-installed. The old one came down in under an hour. The new panels went up without major problems. But the track alignment took longer than the video suggested, the springs needed rewinding because the tension felt wrong on the first attempt, and the opener won't connect to Wi-Fi. You can't leave it like this overnight.
That's when the shims get skipped. The cable drums look secure enough. The safety sensor alignment is close, not perfect, but the error light stopped flashing and it's getting dark. The video didn't show what happens when a winding bar slips under 200 pounds of tension, or why a door installed in July binds every January, or that the track spacing difference between "rolls fine" and "grinds in the cold" is half an inch you can't see from the driveway.
Spring Tension and What Happens When Tools Slip
Garage door installation starts with the springs. The door weighs 200 to 300 pounds. The opener motor can't lift that on its own. The springs do the work, storing tension when you wind them and releasing it as the door rises. Garaga and CHI torsion springs are rated for cycle counts ranging from 10,000 to 25,000 or more depending on the spring grade.
That lifespan depends on winding them to the exact turn count for that door weight and spring size. The process uses solid steel winding bars. Each quarter turn adds tension. Get the count wrong and the door won't stay open, or it slams shut. The spring doesn't care if you were off by two turns. It releases what it's holding either way.
If the winding bar slips while the spring is under tension, that stored energy releases in whatever direction the bar was pointing. The bar whips across the opening faster than you can track it. Facial injuries from garage door spring work show up in Ontario emergency rooms every year. The tutorials mention this briefly. They don't show what happens when someone uses an adjustable wrench instead of proper winding bars and the tool slips.
The Track Gap That Shows Up in February
The tracks need to run parallel at a precise width. Half an inch of misalignment and the rollers drag instead of glide. In July when you're testing the installation at 22°C, that might not matter. Steel expands in heat. The tolerance disappears in January when everything contracts.
Walk through any Kitchener-Waterloo neighbourhood in February and the pattern shows from the street. Some garage doors operate smoothly at minus 20°C. Some grind through every cycle. Some bind completely. The difference isn't door quality. It's whether the installer set the track spacing with clearance for winter contraction.
That clearance doesn't appear in installation manuals. There's no chart showing how much spacing a 16-foot steel door needs when temperature swings 60 degrees between seasons. It's pattern recognition from years of warranty calls that arrive every February from doors installed the previous summer.
Nylon rollers crack at minus 15°C. Steel lasts but rusts without lubrication. Mix the types and the door balance changes. Most DIY kits don't specify which goes where, and the difference only shows up when wintry weather hits.
Calibration Takes Longer Than the Video Suggests
The opener doesn't know what the door weighs. You program the force settings after installation. Too high and it crushes whatever's underneath. Too low and it reverses every time it hits resistance. Snow buildup, road salt bags, an uneven threshold all trigger false reversals if the calibration is wrong.
The safety sensors need perfect alignment. If the beam is off, the door won't close or it reverses randomly. Tightening the bracket without rechecking alignment just moves the problem to the next temperature swing when the mounting hardware contracts.
The opener's travel limits also need setting. Miss those marks by two inches and the door either slams into the ground on every close or leaves a gap at the bottom that lets cold air pour into the garage all winter. Adjusting the limits sounds straightforward until you're toggling settings on a control panel while watching the door move through cycles, trying to dial in stops that work consistently.
This is where the timeline blows out. The video shows someone programming the opener in under three minutes. Real calibration takes twenty minutes of cycling the door, adjusting force, testing reversal on an obstruction, rechecking sensor alignment, fine-tuning travel limits.
Do it wrong and you're doing it again next weekend or living with a door that reverses randomly all winter. The video doesn't show the homeowner standing in the garage at 7 PM on Saturday running the door through another test cycle because the force setting still isn't right, or the Sunday morning trip to buy longer bolts because the header framing is thicker than the kit assumed.
Why Century Homes and Suburban Builds Need Different Approaches
Century homes in older Waterloo neighbourhoods have openings that are three-quarters of an inch narrower on one side than the other. That asymmetry doesn't show until you're mounting tracks that assume perfect square. You compensate with shims but figuring out where they go and how many you need isn't in any tutorial.
Suburban builds from the 1990s often have header framing that's undersized for modern insulated doors. The additional weight creates sag that affects track alignment within the first year. The door rolls fine in August. By the following spring, the header has settled enough that the tracks are pulling the rollers at an angle, and the grinding starts.
After 50 years of installations across every KW neighbourhood, these building-era patterns show up before the first measurement gets taken. The opening dimensions tell you whether you're working with a structure built to 1920s standards, 1970s standards, or modern code.
When the Weekend Estimate Becomes a Two-Day Project
The tutorial runs eighteen minutes. Professional garage door installation takes four to six hours for a standard two-car garage. DIY installations can stretch across two full days when you account for the track alignment that takes multiple attempts, the spring rewinding when the tension isn’t quite right, and the sensor bracket that loosens every time you adjust it.
By Sunday evening you're either driving to the hardware store for parts the kit didn't include, or you've skipped the shims that seemed optional when it was getting dark Saturday. The door operates, but whether it operates correctly in January is something you won't know until February proves otherwise.
The track shims get skipped because the door rolls. The cable drums don't get checked because they look seated. The sensor alignment is close enough because the error light stopped. Those gaps accumulate. The door that operates smoothly in August grinds every morning by February.
The spring tension that felt right during installation loses calibration after 3,000 cycles. The door drifts at the halfway point instead of holding steady. You rewind the springs, counting the same number of turns you used originally. The drift continues because the original count was wrong for that door weight.
What Proper Installation Requires
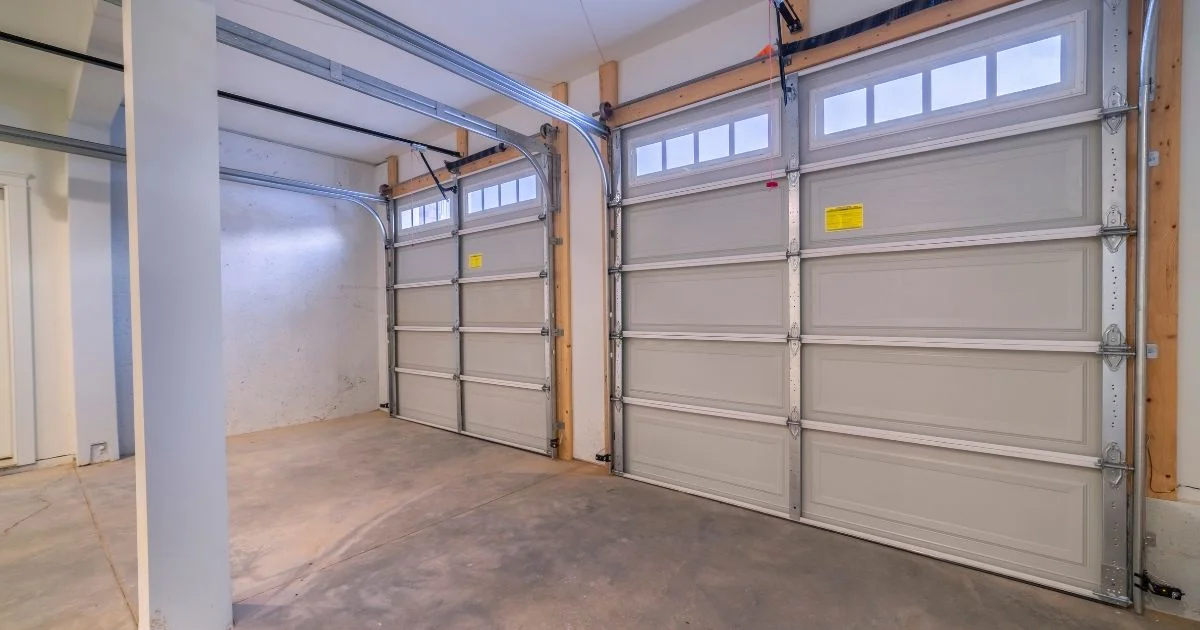
The assessment starts with measuring the opening and checking framing condition. Springs get tensioned with calibrated winding bars at the turn count specific to that door weight. Tracks get shimmed for winter contraction. The opener gets programmed for actual door weight and tested through multiple cycles. Safety sensors get aligned to.
Rick MacDonald's installations carry a 3-year installation warranty covering alignment issues, spring adjustments, and calibration problems. That warranty matters when the problem shows up months later. The door that rolled fine in summer grinds every morning in winter. Those failures get corrected at no cost instead of becoming recurring expenses you're troubleshooting every February.
When DIY Makes Sense and When It Doesn't
Replacing damaged panels or swapping worn rollers makes sense as DIY work. The springs stay tensioned, the tracks don't move, the work involves unbolting components and reversing the process with new parts. You're maintaining an existing system, not installing one from scratch.
Full installation is different. Spring tension, track alignment, and opener calibration all require precision the videos demonstrate but can't supervise. When something goes wrong during installation, the fix often costs more than hiring someone from the start. That's before accounting for injury risk from spring work, or the reality that you won't know if the track spacing is correct until the first cold snap reveals the problem six months later.
If you're looking at garage door replacement, an in-home assessment shows you what the installation involves before the first panel comes down. Rick MacDonald handles Garaga and CHI installations across Kitchener-Waterloo, Cambridge, and Guelph, covering everything from framing condition to spring tensioning and the warranty that backs the work.